Choose Required Item Attributes
Specify which item attributes (fields) must be present in a NuVia item download file to successfully load in your MMIS and update your item master. In Field Chooser, you select required attributes, remove unnecessary attributes and arrange the attribute order. These selections determine which attributes are required for each AllSource Prime item you add to your Virtual Item Master.
- Click the Configuration tab.
- Click Field Chooser.
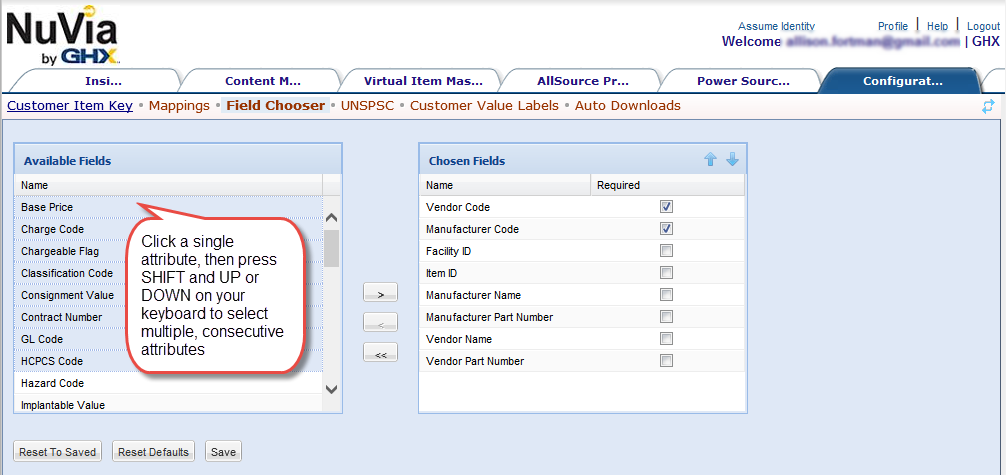
- Scroll through the Available Fields list.

- Click an attribute in the list.
- Click an attribute and press SHIFT and UP or DOWN on your keyboard to select multiple consecutive attributes.
- Click
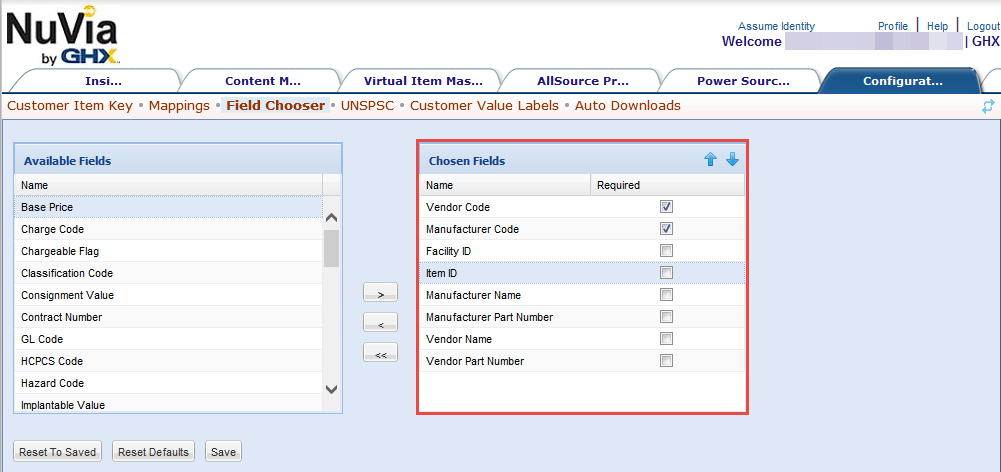
 to move selected fields to the Chosen Fields list.
 - Click the checkbox in the Chosen Fields list next to each item attribute you want to make required.
Note: By default, the Vendor and Manufacturer Code fields are required.
- Click an attribute (field) in the Chosen Fields list.
- Click an attribute and press SHIFT and UP or DOWN on your keyboard to select multiple consecutive attributes.
- Select the attributes and click
 .
. - Click
 to remove all fields from the Chosen Fields list.
Tip: If you mistakenly add or subtract a large number of fields, click Reset to Saved which returns to the last saved list, or click Reset to Defaults, which restores the default list.
- Click Save.
- Click an attribute in the Chosen Fields list.
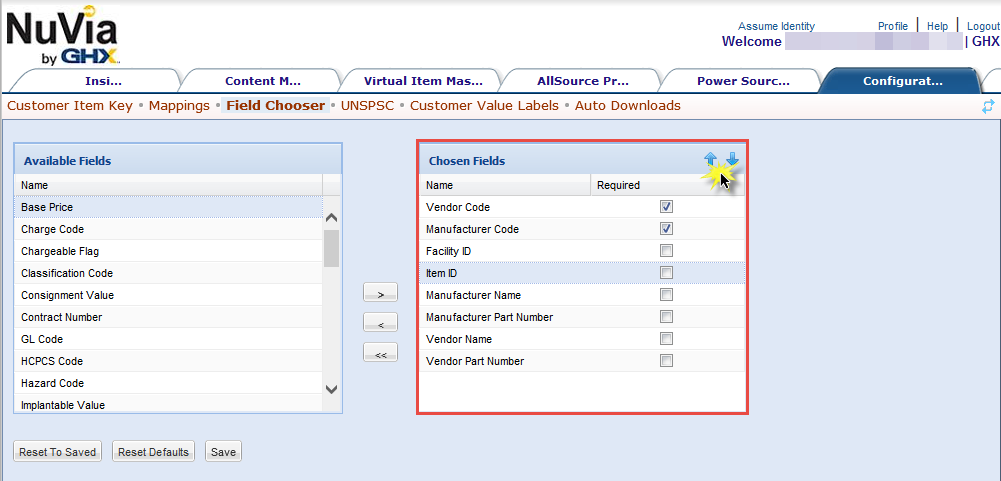
- Click
 to move the field up in the list.
 - Click
 to move the field down in the list.
Note: To select multiple consecutive attributes, click an attribute and press SHIFT and UP or DOWN on your keyboard.
- Repeat steps 1 through 3 until you have arranged the list in the desired order.
- Finish arranging the list and click Save.