Select and Order Columns
Many screens in NuVia can be viewed as a spreadsheet. In most screens with the Spreadsheet View, you can select and arrange the columns in the spreadsheet. Hide columns containing information that is not useful for completing a task and display columns containing information you need to complete a task.
If you are working in the Virtual Item Master and you are not sure which columns you should hide or display, try using a predefined view in the Virtual Item Master.
- Content Management - Duplicate Resolution
- Content Management - Review & Approval
- Virtual Item Master
- Power Sourcing
- Configuration
To access Column Selection and Ordering:
- Click View Selector and then click Spreadsheet View.
- Click the Settings menu in the right corner of the screen.
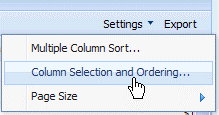
- Click Column Selection and Ordering.
 To add columns:
- Press CTRL on your keyboard and then click the column names you want to add to the Display Columns list.
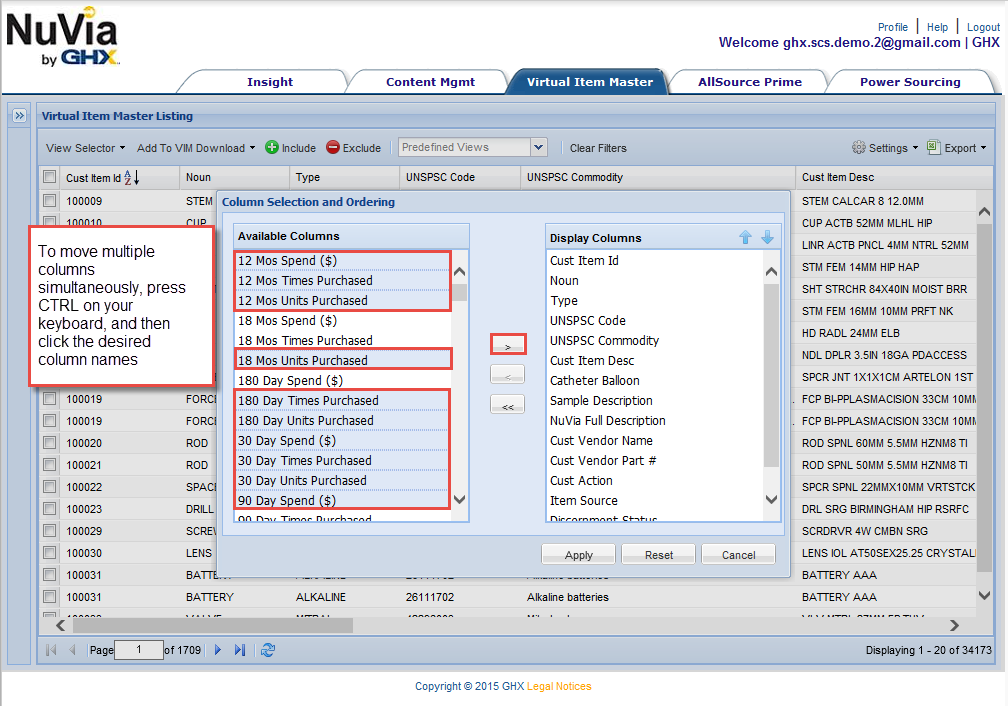
- Click
 .
.
To remove columns:- Press CTRL on your keyboard and then click the column names you want to remove from the Display Columns list.
- Click
 .
.
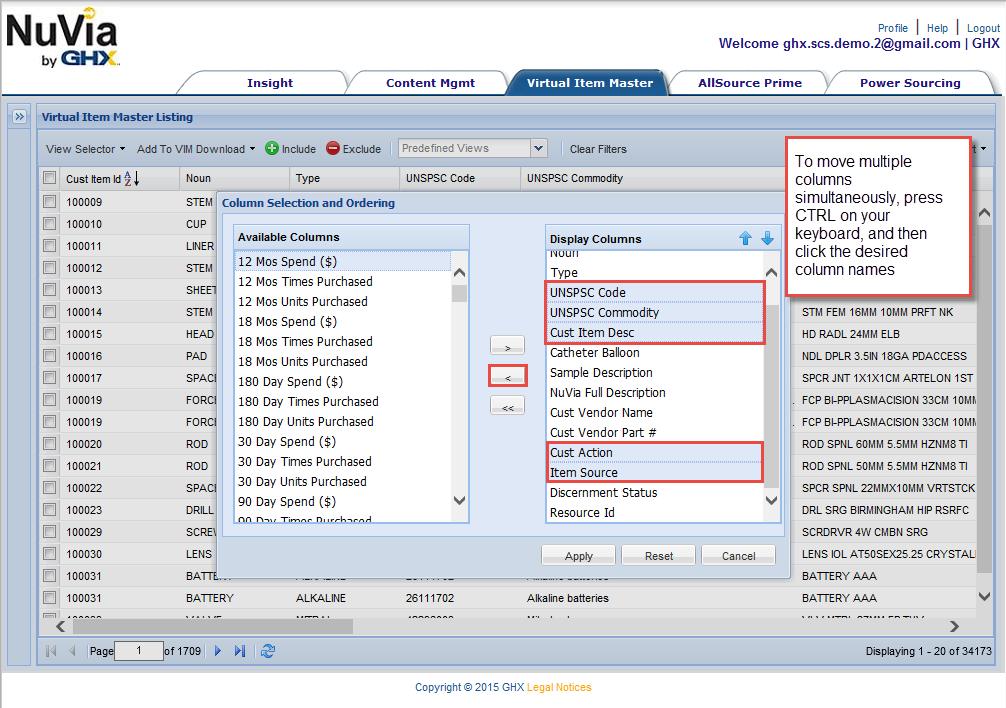
Note: To move all columns from the Displays Columns list to the Available Columns list, click
 .
.
To adjust column order:To adjust the order of the columns in the Available Columns list, click a column then click the up
 or down
 arrow.
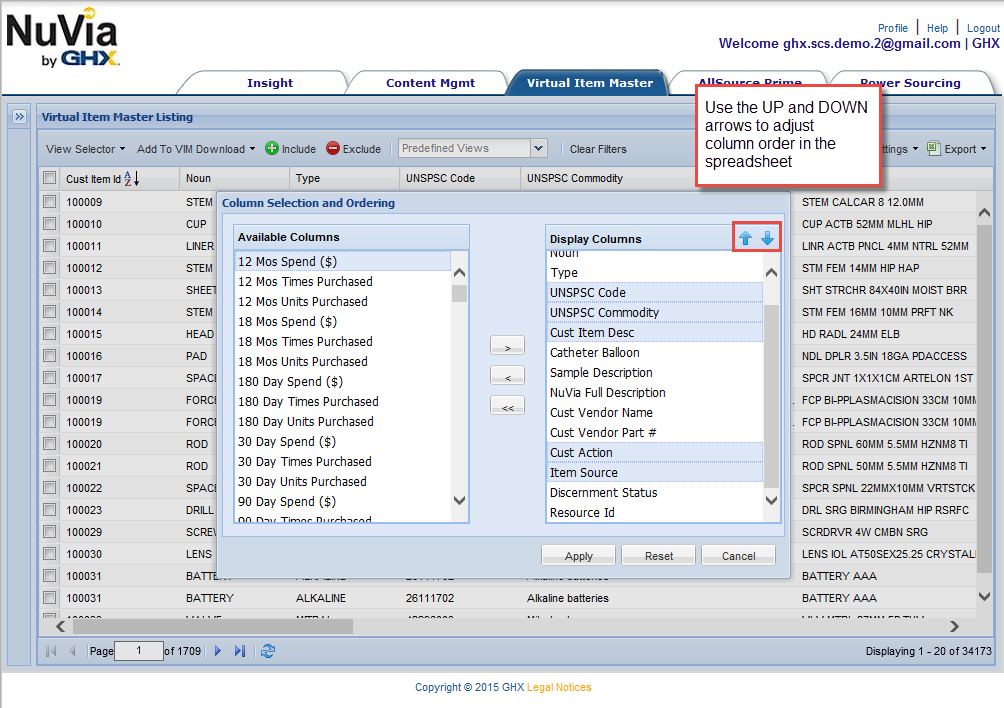
- Press CTRL on your keyboard and then click the column names you want to add to the Display Columns list.
-
After you have made the desired adjustments, click Apply.
Note: If you navigate to another screen or log out of NuVia, all of these changes will be retained.