Assign Vendors to Users
Assigning vendors to a user gives the user access to invoices from those specific vendors in eInvoicing for Providers. You can assign vendors as you add a new user's account or when editing an existing user's account.
- Click the Admin tab.
- Select a user from the list. The Edit User page opens.
Note: AP Super users and Admins can use the vendor assignment feature to have invoices automatically assigned to their queue.
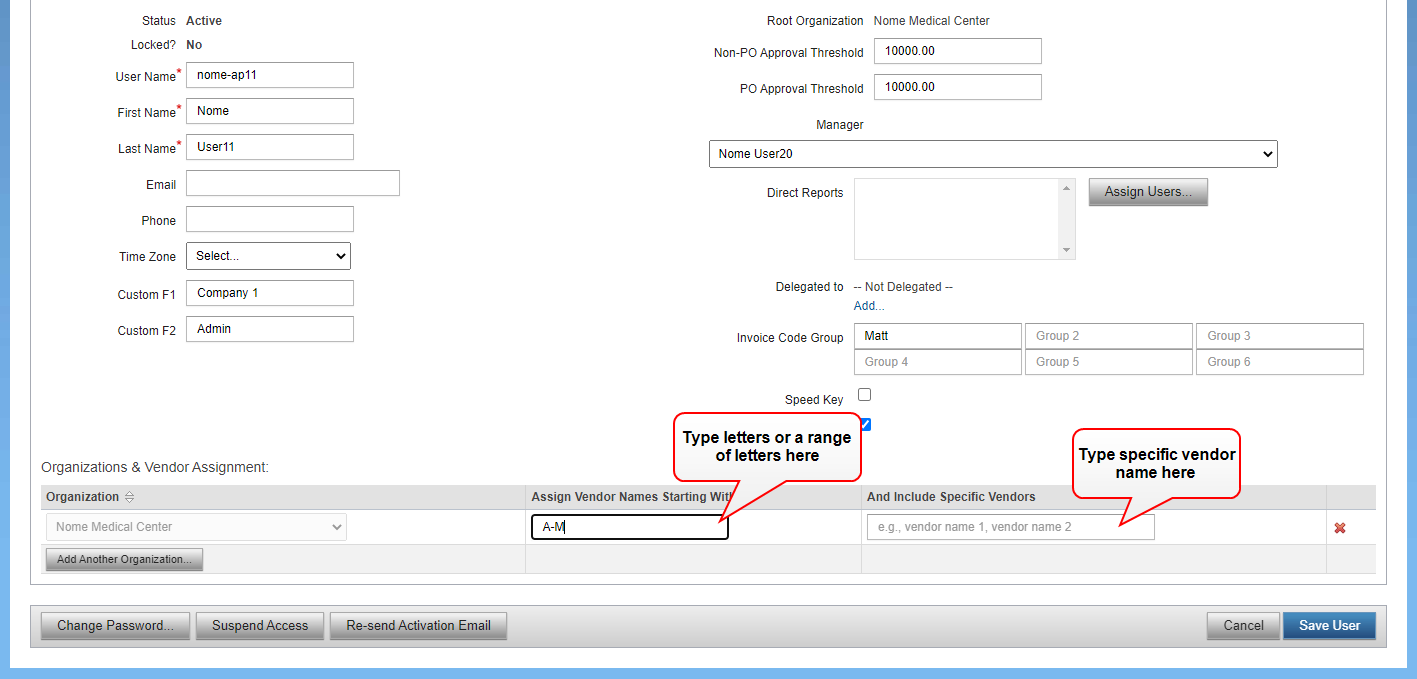
- Type a value in the Assign Vendor Names Starting With field.
Note: Type a single letter or a range of letters in the alphabet (for example, H, S, A-F). Insert a comma and a space between each range of vendors (for example, "A-G, H-L, Q-U"). don't include special characters.
- Type specific vendor names in the And Include Specific Vendors field.
Tip: These vendors may be outside of the assigned "letter" or "range." If adding multiple vendor names, separate them with a comma.
- Make all edits and click Save User.
An example of assigning vendors:
A Provider Admin assigns the Smith Medical invoices as follows:
- Assigns Anne Doe to vendors A-N
- Assigns John Doe to vendors O-Z
- Assigns Mary Doe to Smith Medical
In this case, both John and Mary will receive invoices from Smith Medical. If you don't want John to receive Smith Medical invoices, then you must edit his vendor assignment to O-R and T-Z, and assign specific vendors starting with the letter S.
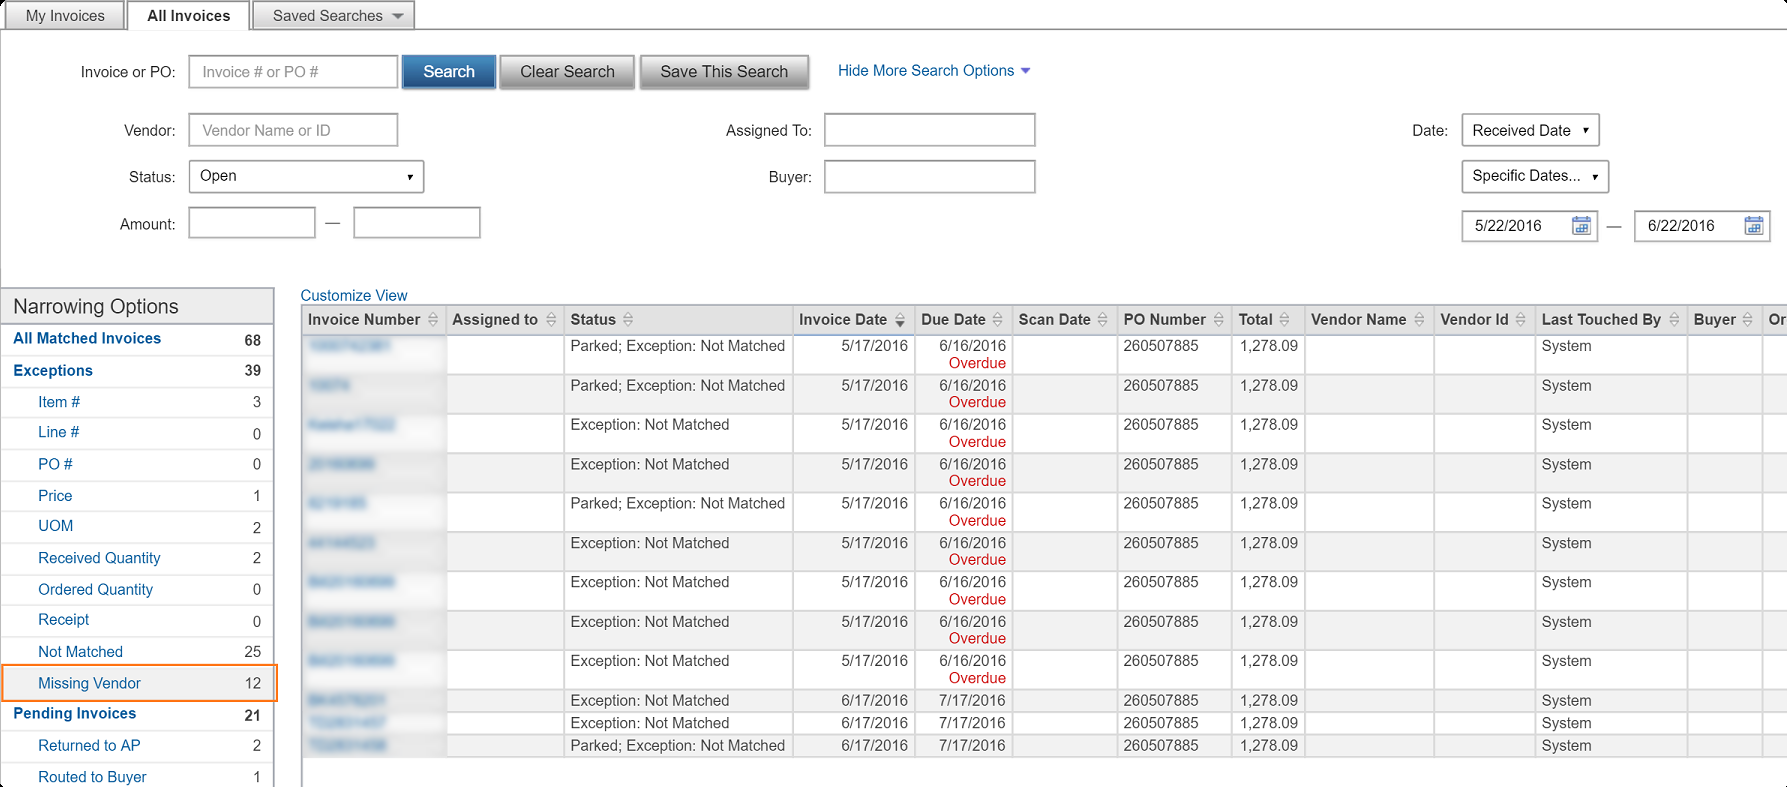
Note: The system stores invoices without a vendor in the Missing Vendor exception queue.