Respond to Individual Trading Partner Requests
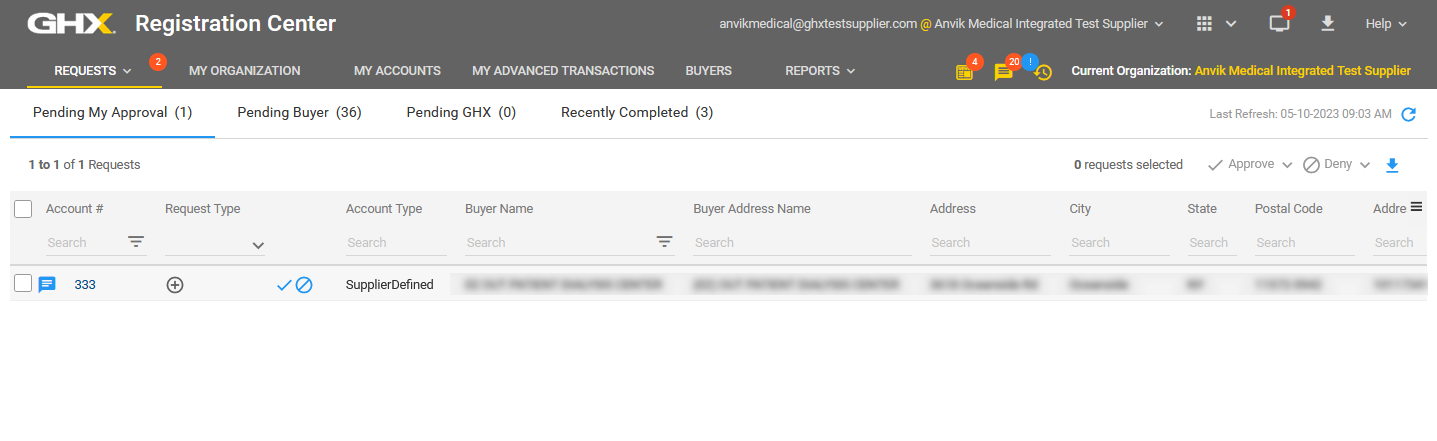
- Click Requests. The Pending My Approval page opens.
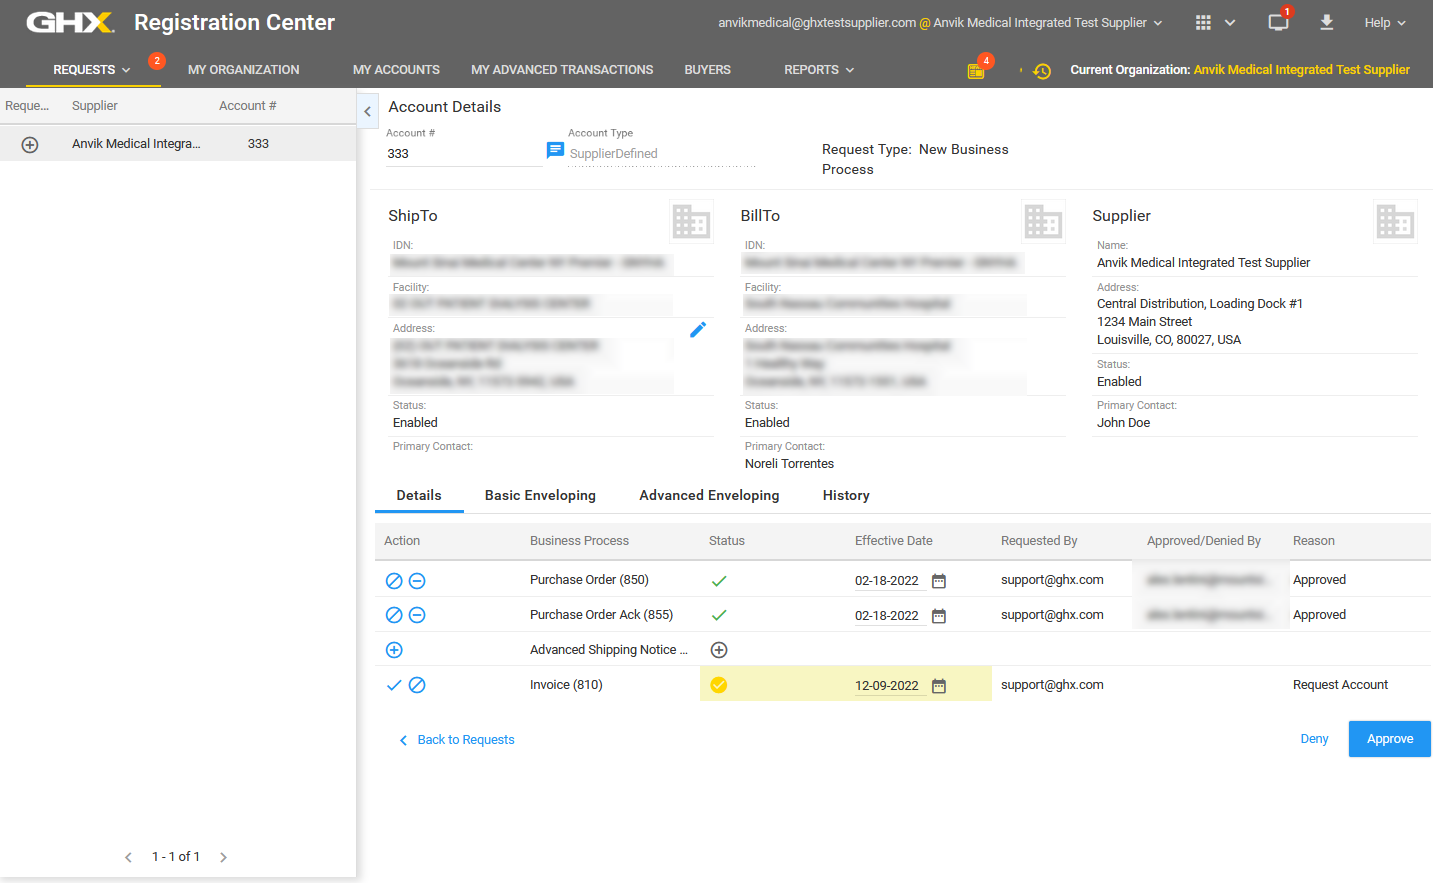
- Click the link in the Account # column to view details about a request (optional). The Account Details information displays in the right pane.

- Compare the account information in the request to your MMIS or ERP to ensure the information is correct.
Tip: If you need to modify an account number, see Edit Trading Partner Account Numbers.
- Click the View Changes
 icon to view pending changes on the Account Changes comparison screen (optional).
Tip: This icon is shown only when there are pending changes on the account. Click X to close the comparison screen.
- Click one of the following icons in the Action column on the Account Details pane:
 Approve – Enables this business process on the effective date
 Deny – Denies this request and notifies your trading partner; the user must enter a denial reason, which can be up to 700 characters long
Tip: If you unintentionally deny a request, click the Request
 icon to re-request the business process. You can also click the
  icon to add a message to the account explaining the situation.
- Request – Notifies the trading partner of the request
 Disable – Disables an enabled business process
 Delete – Deletes an enabled business process
Tip: A
 icon is shown next to the Messages icon in the main header when unread special instructions exist. When a request has special instructions, you must acknowledge that you have viewed those special instructions before you can approve or deny the request.
 - Click the
 icon in the Account # field on the Account Details pane to open the Add Message dialog box and type a message for your trading partner.
Note: Registration Center retains messages at the account level for historical purposes.
After you approve or deny a request and there are no more pending business processes on the selected account, the account will be removed from the Pending My Approval view.
Tip: Click the Recently Completed tab to view a list of the recent request activity. Select a time frame from the drop down list above the table on the right. Options are Last 2 Weeks, Last 30 Days, and Last 90 Days.