Send Invoices Manually by Email
Use the following steps to select one or multiple invoices to send in a single email message.
- Click Invoices. The Invoices page opens.
- Use Quick Clicks, Work Lists, or Advanced Search to search for and filter data.
- Select the checkbox to the left of one or more invoices.
Tip: Select the checkbox in the column header to select all invoices in the list.
- Click the
 icon. A Send Email dialog box opens.
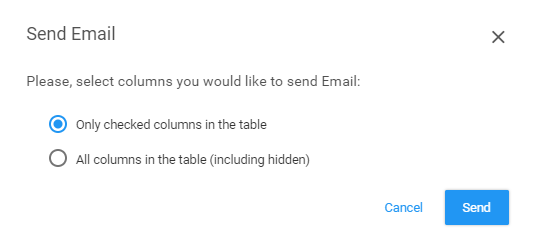
- Select a column option.
Options are:
- Only checked columns in the table: Select this button to include only those columns that you have selected from the Column select list (click the
 icon on the right side of the table heading)
 - All columns in the table (including hidden): Select this button to include all columns, including those that are hidden from view in the application
Note: You will see a "Send email is per your current number of rows per page" message when you select all records.
- Only checked columns in the table: Select this button to include only those columns that you have selected from the Column select list (click the
- Click Send. A second Send Email dialog box opens.
Note: You will see the "You have selected <number> records to email" statement when you select all records.
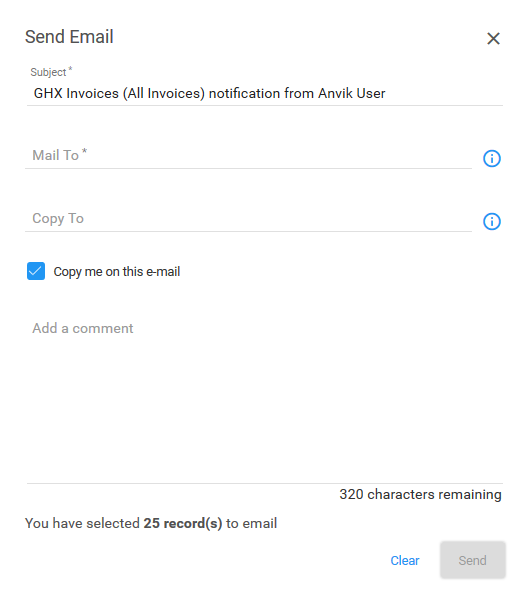
- Leave the Subject line as it's or edit as needed.
- Type an email address in the Mail To field. Separate multiple addresses with commas.
-
Type a recipient’s email address in the Copy To field (optional).
- Select the Copy me on this e-mail checkbox to receive this message in your own email inbox (optional).
- Type a comment in the Add a comment field (optional). This comment will be included at the top of the email message.
- Click Send. The application sends an email message to the recipients and includes the invoice information in the body of the message.