Beginner's Guide to GHX Registration Center
This topic is intended as a supplement to your GHX Registration Center instructor-led training. Use this guide to:
This guide also contains helpful links to various Registration Center topics, the GHX Community, etc.
Access GHX Registration Center
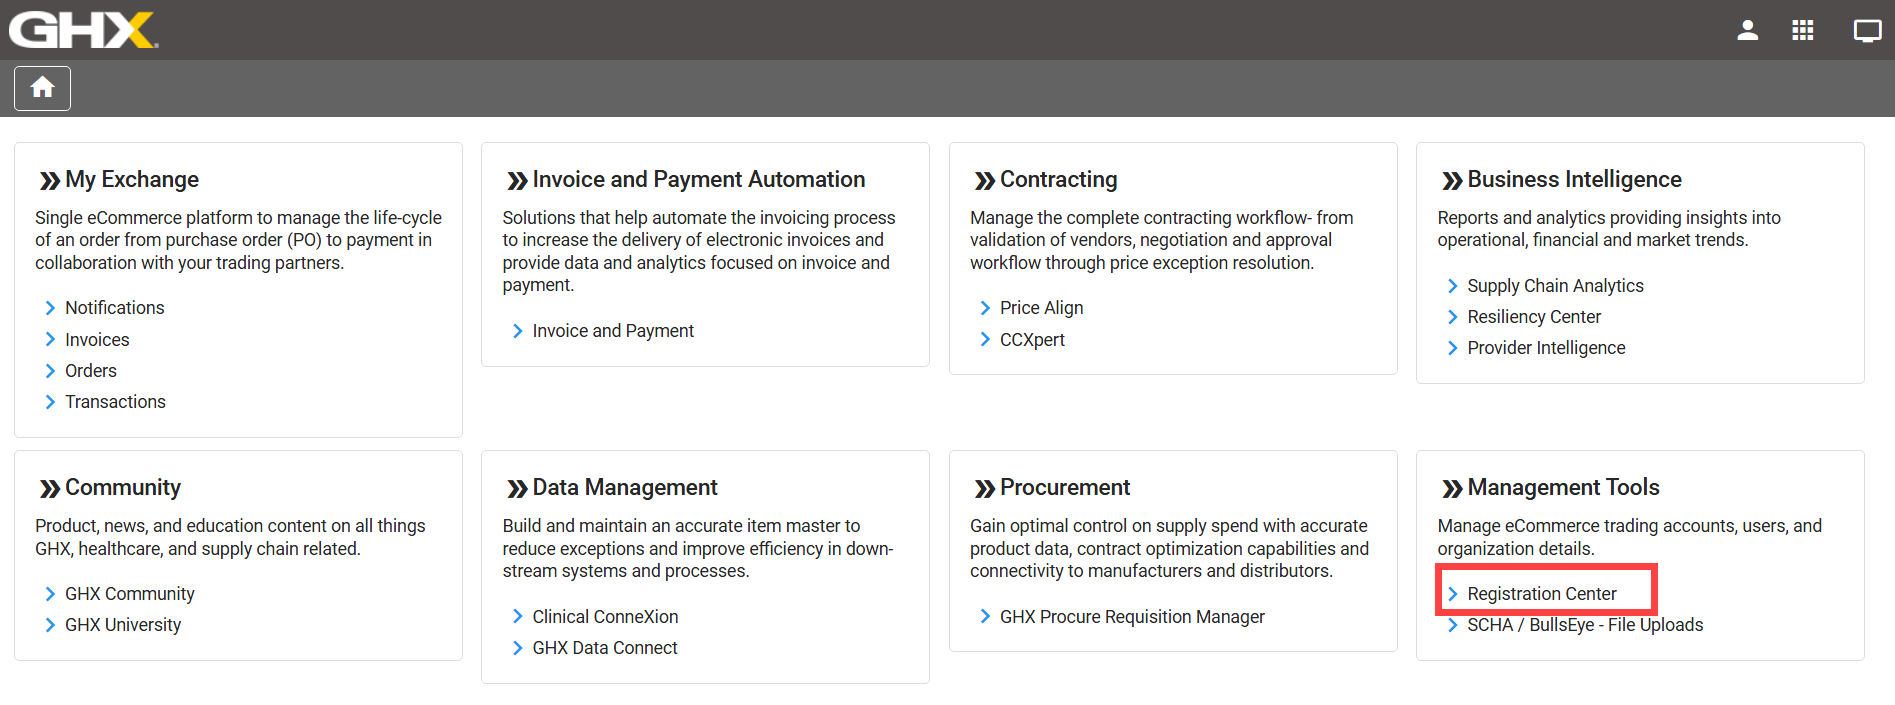
Access the GHX Registration Center application at login.ghx.com using your login credentials. Select Registration Center from the Management Tools tile.
Registration Center Roles
Do the following to confirm that you have the admin role:
-
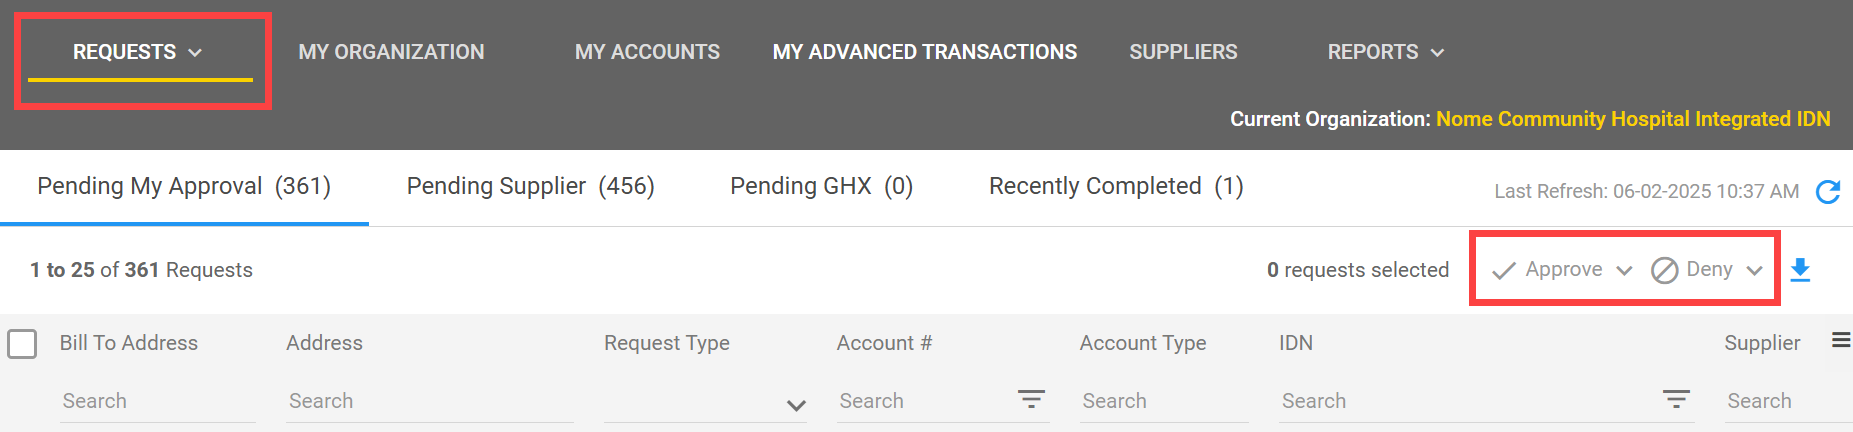
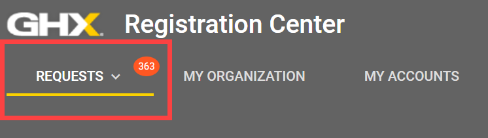
Select Requests to review your Approve/Deny capabilities.
-
If Approve/Deny capabilities are available, you have admin privileges.
-
If Approve/Deny capabilities are not available, do one of the following:
-
If you have an internal GHX admin, ask that person to edit your Registration Center role in User Management.
-
If you do not have an internal GHX admin or are not sure, reach out to your CSM or GHX Customer Support.
-
Daily Tasks
Use the following checklists to efficiently move through your workflow and ensure that you’ve completed all necessary daily tasks.
-
Review and respond to individual trading partner requests
-
Visit Respond to Individual Trading Partner Requests for details
-
-
Review and respond to trading partner requests in bulk
-
Visit Respond to Requests in Bulk for details
-
-
Edit account requests by changing the account number or address, or by approving, denying, or adding business processes (optional)
-
Visit Manage Trading Partner Accounts for details
-
-
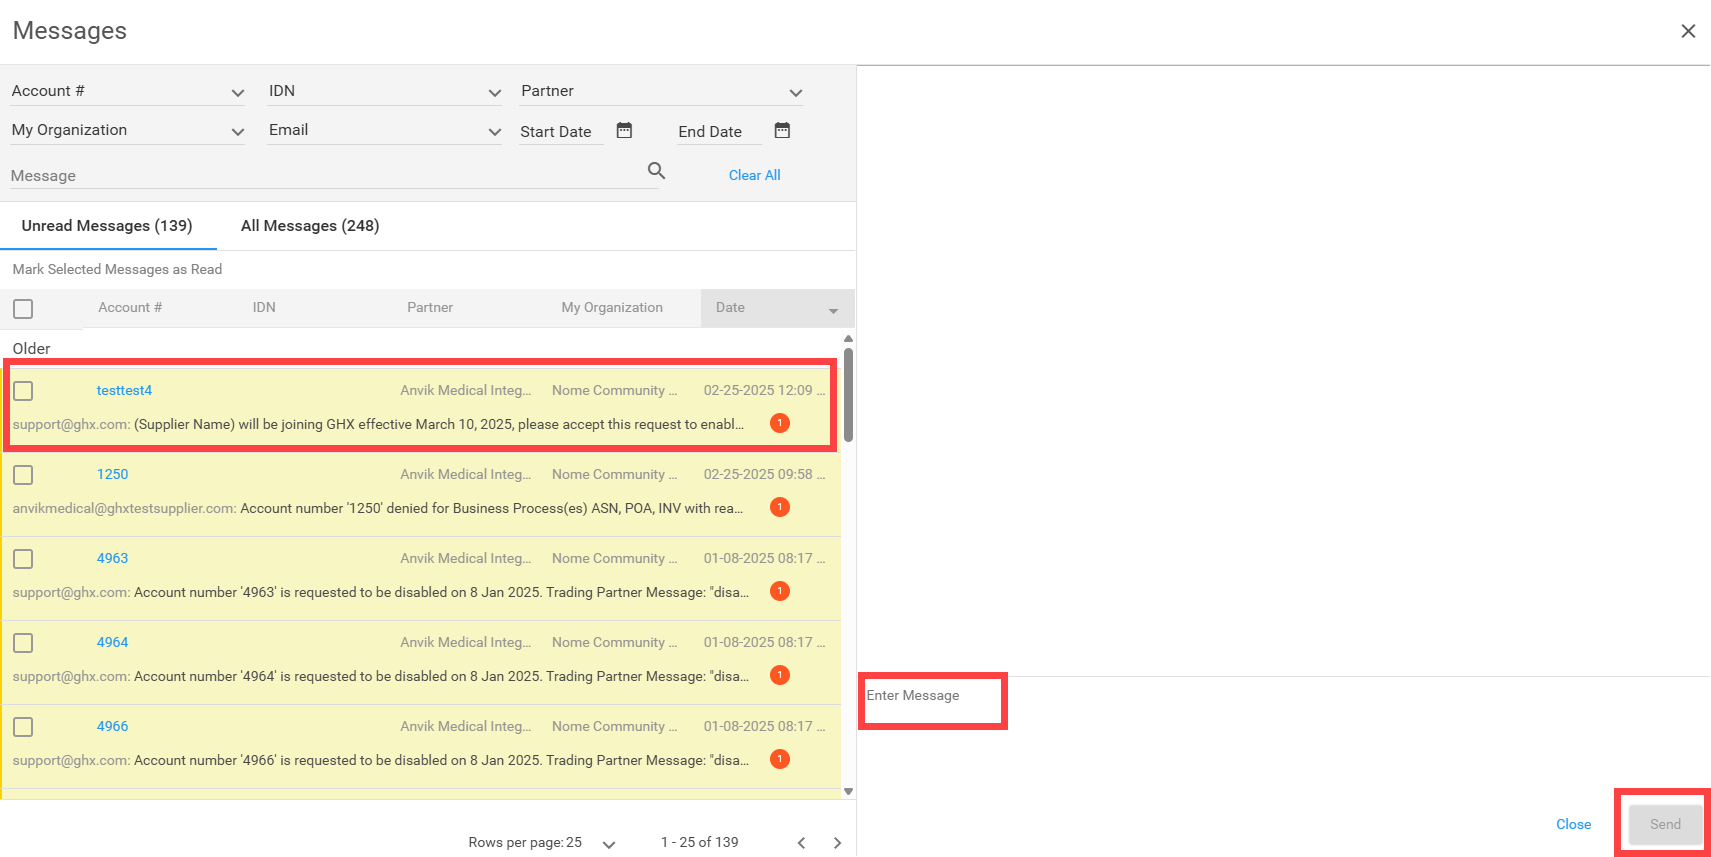
Respond to supplier messages:
-
Select the messages icon at the top of the page to review new messages. The Messages window opens. Read and respond to supplier messages from this same window.
-

Directory
Are you wondering where to start? Review the table below to understand where to go, depending on what you want to do.
|
If You Want To… |
Go To… |
What Does That Look Like? |
How Often Should I Take This Action? |
|---|---|---|---|
|
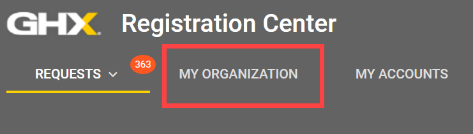
Add new contact and address information*
*If you need to add a new organization and/or facility, contact your CSM |
My Organization tab |
|
As needed |
|
Edit current organization/facility address and contact information |
My Organization tab
|
|
As needed |
|
Review your organization's hierarchy to ensure it is current |
My Organization tab
|
|
As needed |
|
Approve, deny and/or edit Supplier requests |
Requests tab |
|
Daily/often |
|
Respond to/send reminders to trading partners |
Requests tab |
|
Daily/often |
|
Review your recently completed action items |
Requests tab |
|
As needed |
|
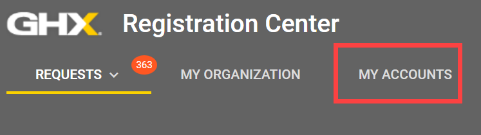
Set up a new trading partner relationship
|
My Accounts tab |
|
As needed |
|
Edit or disable existing trading partner accounts |
My Accounts tab |
|
As needed |
|
Request to add and/or remove a business process with an existing trading partner |
My Accounts tab |
|
As needed |
|
Look up a supplier’s contact information |
My Accounts tab |
|
As needed |
|
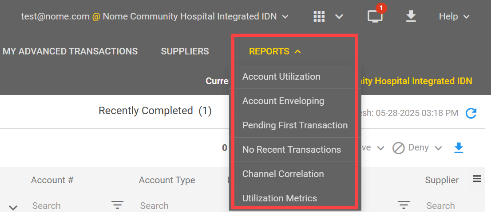
Export trading partner information |
Reports drop-down menu |
|
As needed |
|
Search for and filter trading partner information |
Wherever you see a Search or filter option |
|
As needed |
|
Search for new potential trading partners*
*The MetaTrade section lists suppliers with active accounts and primary MetaTrade suppliers you can add. For unlisted non-EDI suppliers, contact GHX for setup assistance. |
Suppliers tab |
|
As needed |


General Tips and Tricks
Customize Your View
Refer to Manage Columns for information on how to customize your view of Registration Center and log in to only what you want to see.
Helpful Terms
Refer to the Glossary of Terms to view a list of commonly used terms and phrases.
FAQs
Below are some of the most commonly asked questions about Registration Center. If you do not see your question, refer to the Frequently Asked Questions topic to access a more comprehensive list of FAQs.
What is Registration Center?
Registration Center is a collection of workflows and reports used to manage customer relationships with other parties connected to the Exchange. The general process is for buyers or suppliers to make account and business process connection requests and for the trading partner to accept, modify, or deny these requests. Currently supported business processes include purchase orders (EDI 850), purchase order acknowledgements (855), advanced ship notices (856), and invoice (810) processing.
How do I look up a supplier’s contact information?
Take the following steps to look up a supplier’s contact information:
-
Select My Accounts, then select the Organization Info
 icon in the IDN column. The Organization Info dialog box opens.
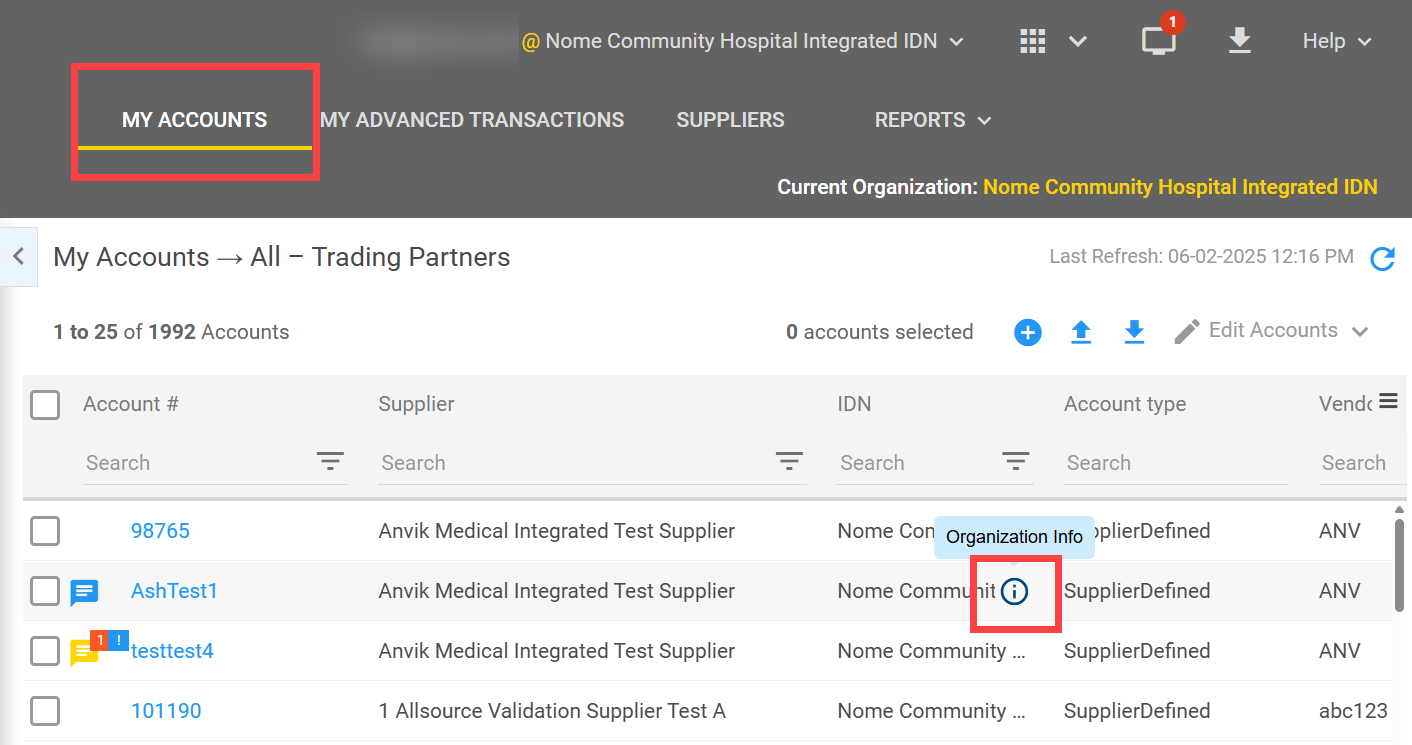
-
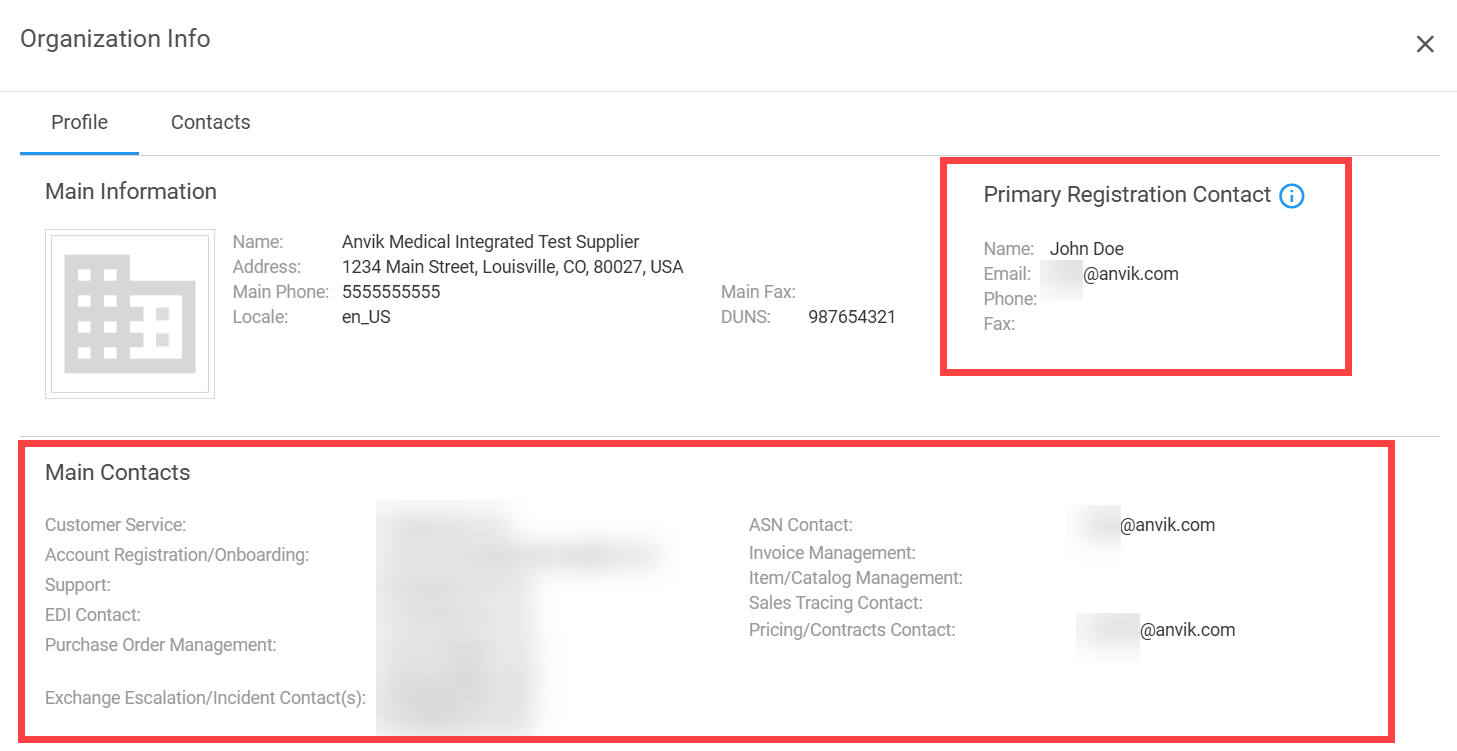
View information for your trading partner's primary and main contacts by functional area.
-
Select the Contacts tab to view all contacts for this organization.
How do I register multiple accounts in bulk?
-
Download the template that becomes available when you select the
 icon as part of the registration process below. Modify and save the Excel template to use any time you upload account information into Registration Center.
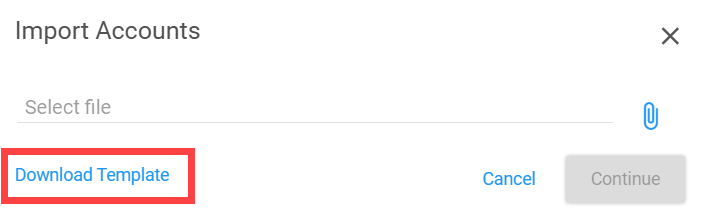
-
Select My Accounts. The My Accounts page opens.
-
Select one or more suppliers of the same registration type (Exchange or MetaTrade) in the left panel.
-
Select the
icon above the account table. The Import Accounts dialog box opens. -
Select the
 icon.
icon. -
Navigate to the Excel template that contains the account information and select that file.
-
Select Continue. The Add New Accounts dialog box opens and displays the accounts from the imported file.
Tip: If information is missing, a red X will be shown in the Valid column. Hover over the X to display the error. You must fix these records before you can register the imported accounts. -
Select the Effective Date field to modify the date when these business processes will be active (optional).
-
Select Register. A confirmation message displays.
-
Select OK.
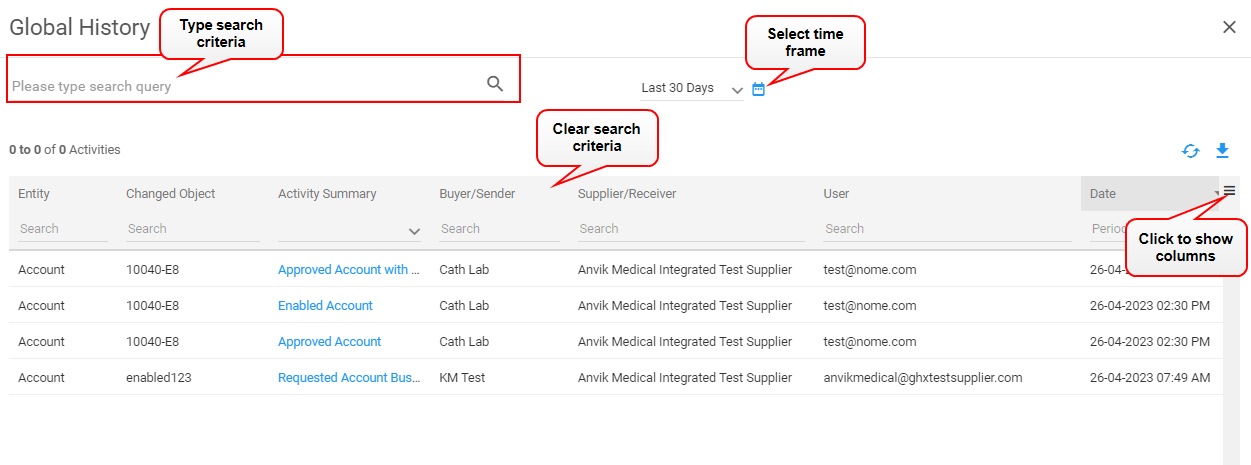
How do I review past changes to an account?
Wondering who has made changes to accounts and why?
Use Global History to search across your organization and accounts for specific changes and actions that may impact current and future Exchange processes.
-
Select the Global History
 icon in the main header. The Global History dialog box opens.
 -
Search for activity using the following actions:
-
Type a word or phrase in the search field at the top on the left.
-
Select a time frame from the list.
-
-
Type criteria in the search field in the column headings or select criteria from the lists.
 Tip: Use the * asterisk wildcard character in some columns (for example, the Entity column) to narrow the search results.
 -
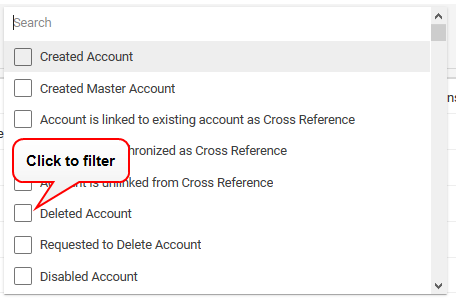
Select the down arrow to the right of the Activity Summary column. A list of activity types opens. Select one or more types to filter the list.
-
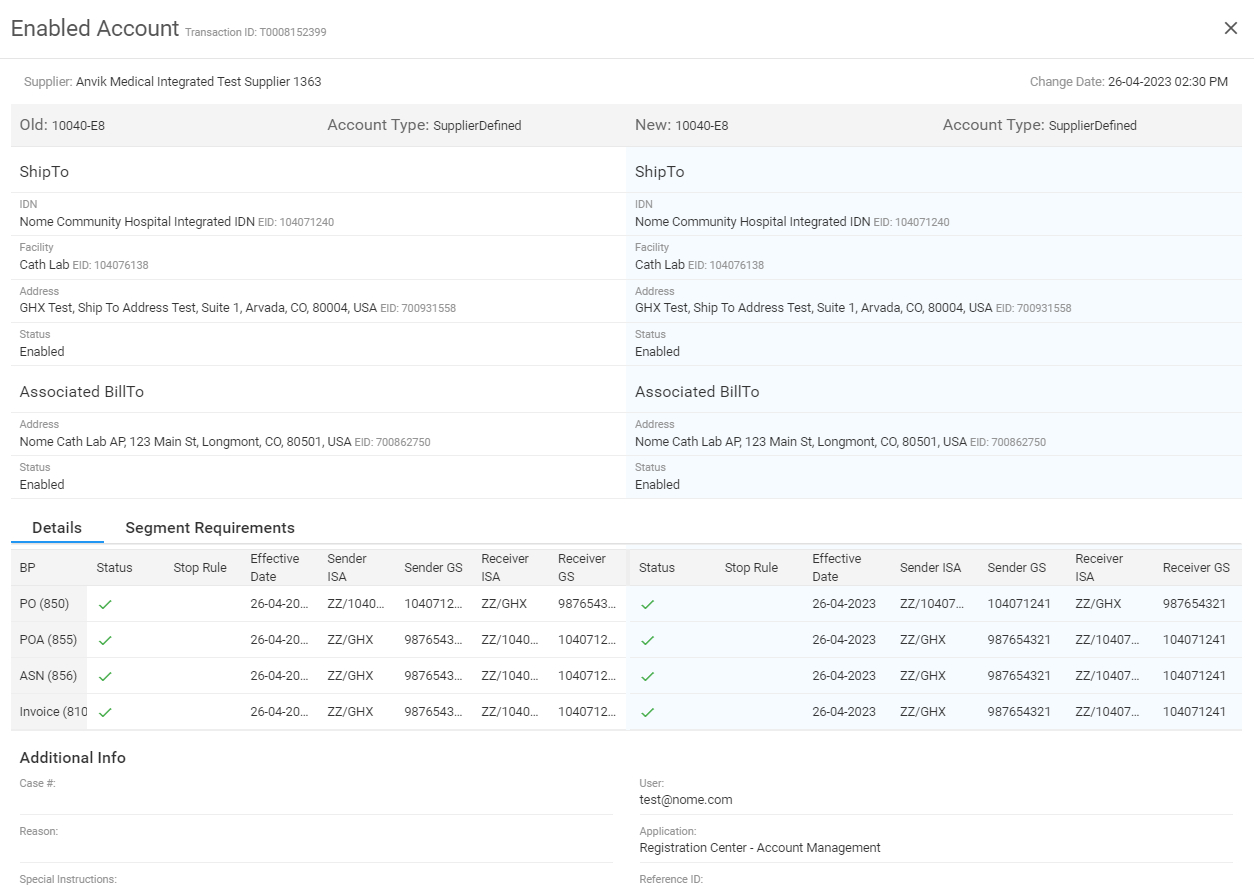
Select a link in the Activity Summary column to view old and new details in a side-by-side view.
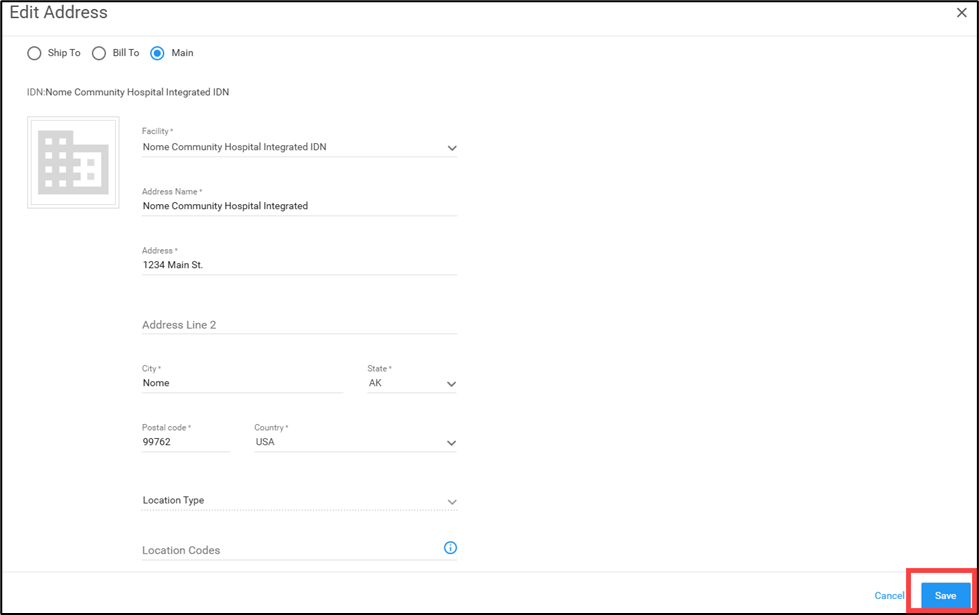
How do I edit an address?
-
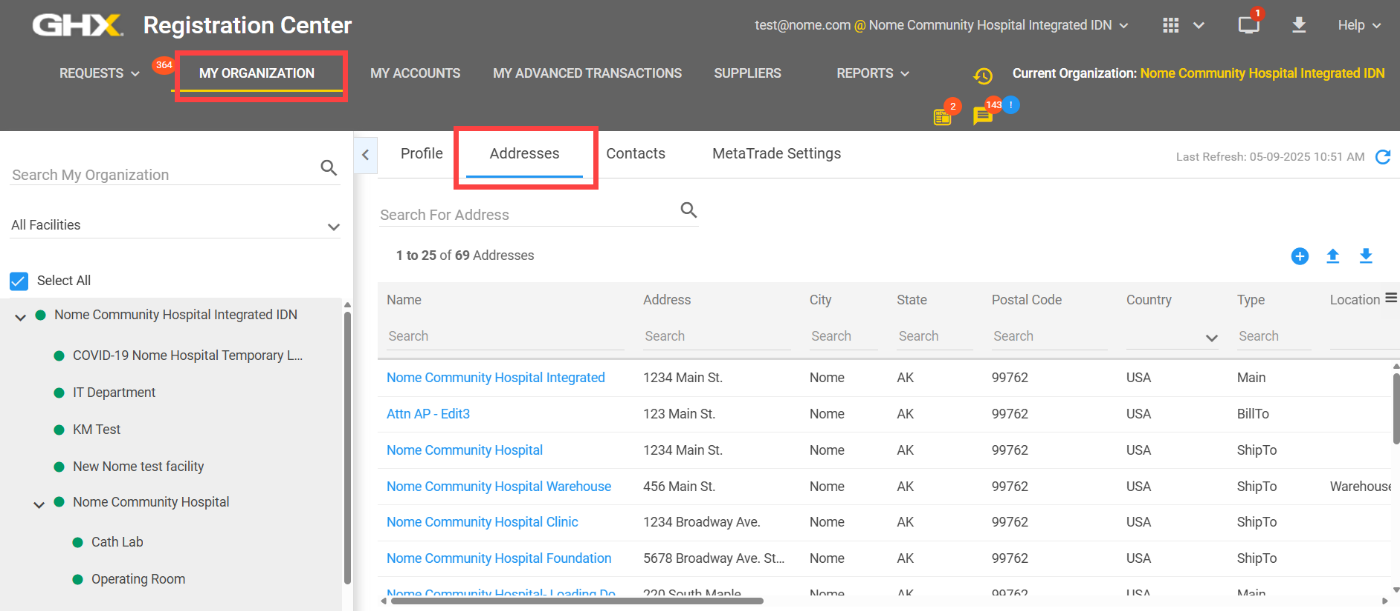
Select My Organization. The My Organization page opens.
-
Select the Addresses tab in the right pane.
-
Select the address you want to edit. The Address Details dialog box opens.
-
Select the
 icon. The Edit Address page opens.
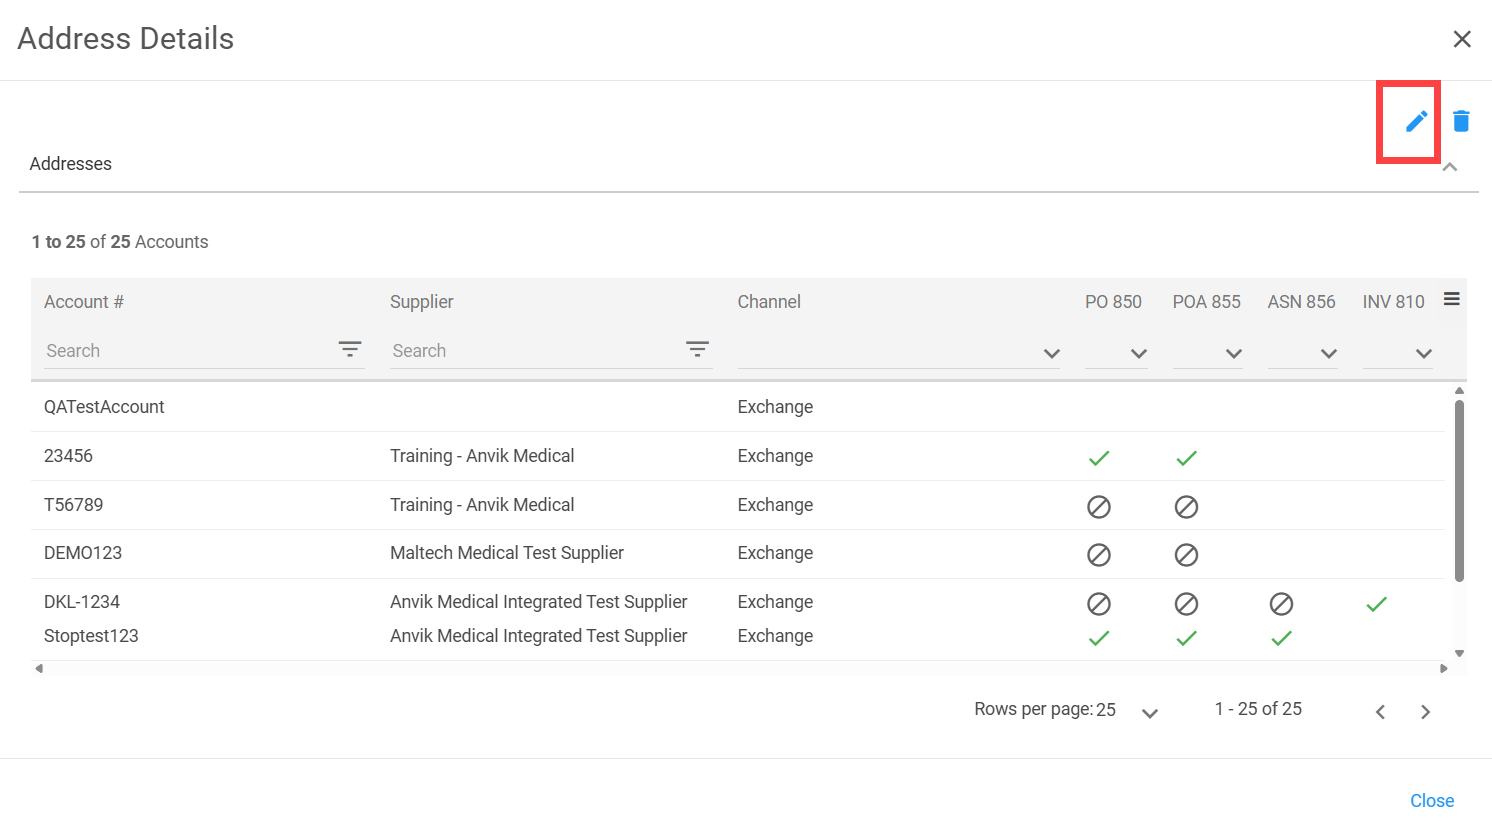
-
Modify the information, as needed, then select Save.
Customer Support Tips and Tricks
Need more help? Create a support case by sending an email to support@ghx.com with all relevant information related to the issue, by calling 1-800-968-7449 and speaking directly with our support team, or by opening a case through the GHX Community.
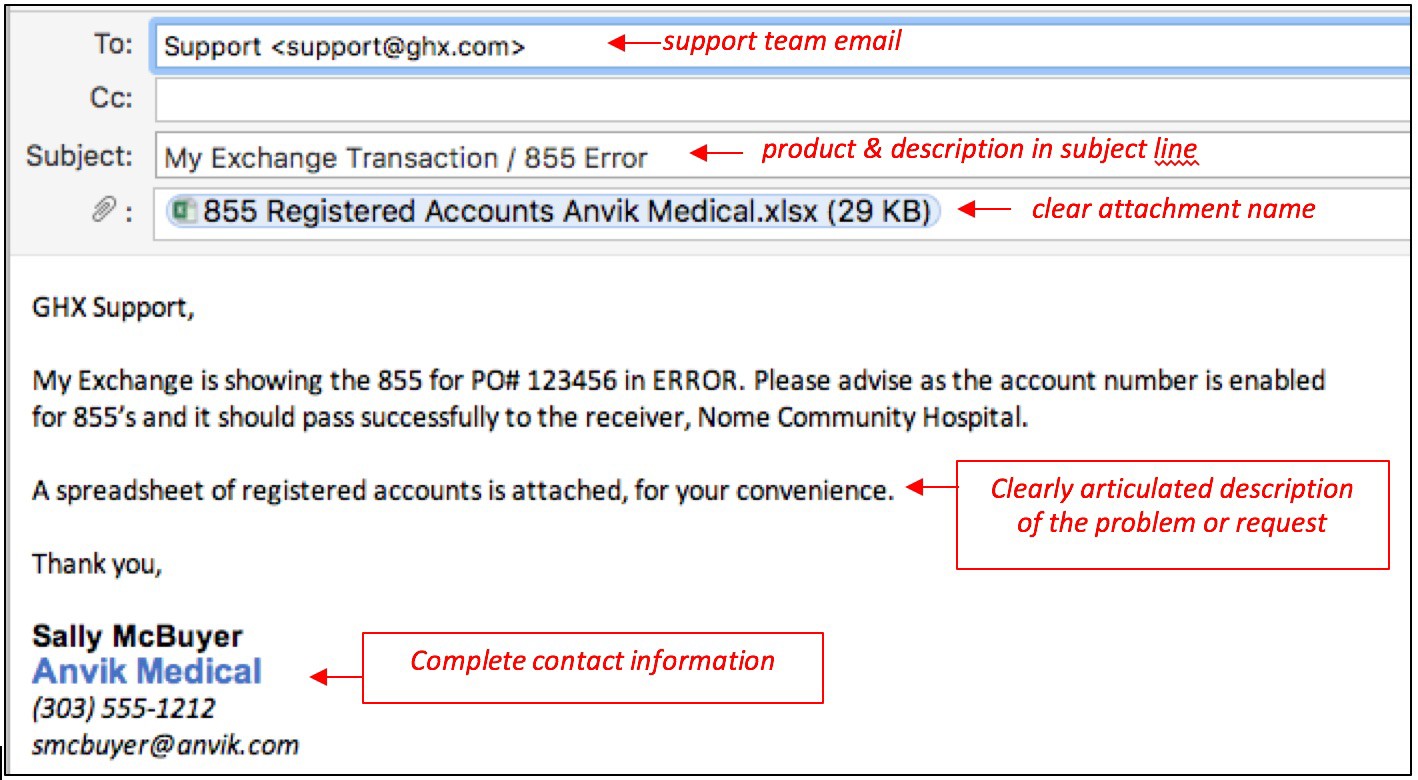
Email Best Practices
Use the following recommendations when logging support cases to ensure a more effective and timely resolution to your issues.
-
Ensure that the email Subject contains two parts:
-
The GHX solution (product) with which you are experiencing an issue or have a question
-
The reason for creating the support case (ticket), such as Exchange | 855 Error or Registration Center (new) | New user registration missing
-
-
Ensure that the body of the message contains the necessary information to accurately identify your organization and a description of your issue, which includes:
-
Contact at your organization GHX Customer Care can work with to resolve the issue
-
Name
-
Phone number
-
Email address
-
Organization name
-
Solution/System product – For example, Exchange, Registration Center, My Exchange, G-Fax, MetaTrade, etc.
-
Brief, direct summary of the issue you are experiencing
-
Expected outcome – why is this an issue / what is your expected result, action, outcome
-
-
Review this example of the information to provide, if needed:
-
Contact: Sally McBuyer 555-555-5555 smcbuyer@anvik.com
-
Org: Anvik Medical
-
Trading Partner: If applicable
-
Product: My Exchange- 855 Error
-
Issue: My Exchange is showing the 855 for PO# 123456 in ERROR
-
Expected outcome: Please advise as the account number is enabled for 855s and it should pass successfully to receiver
-
Attachment: Identify what is attached and for what purpose
-
Support Case Best Practices
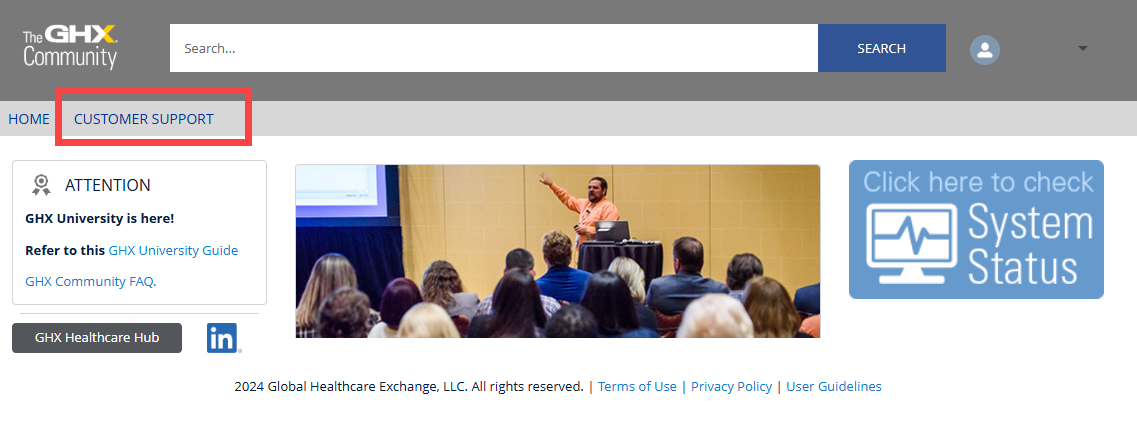
Take the following steps to open a support case through the GHX Community:
-
Log in to the GHX Community.
-
Already a Community member?
-
Go to https://ghx.my.site.com/s/.
-
Log in with your username (typically your work email) and password.
-
-
Not a Community member?
-
Go to https://ghx.my.site.com/s/.
-
Select the Not a member? link and follow the onscreen instructions - you will receive a password via email from Salesforce within 48 hours.
-
-
-
Select Customer Support. The Cases home page opens and contains a list of cases that you have already created.
-
Select Create Case. The Create Case page opens.
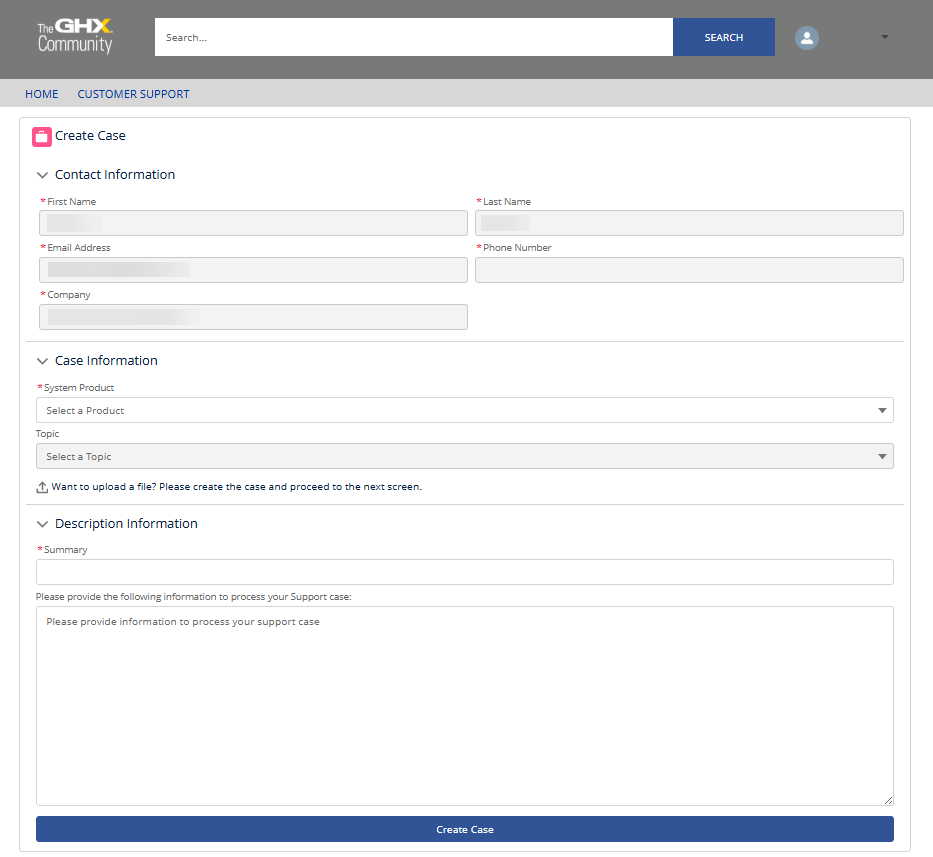
-
Select the application or product name for which you are requesting assistance from the System Product list. If you are unsure, select Unknown.
-
Select the appropriate classification for the issue from the Topic list.
-
Enter the Summary for your case. Be as thorough as you can.
-
Enter your detailed Description information. The more details you include, the quicker GHX Customer Care can resolve your issue.
-
Select Create Case. The case is created and forwarded to the Customer Care team for action. You will receive an email message with a case number to reference, should you need to contact GHX directly.